Best Sketchup To Render Techniques for Stunning Visuals?
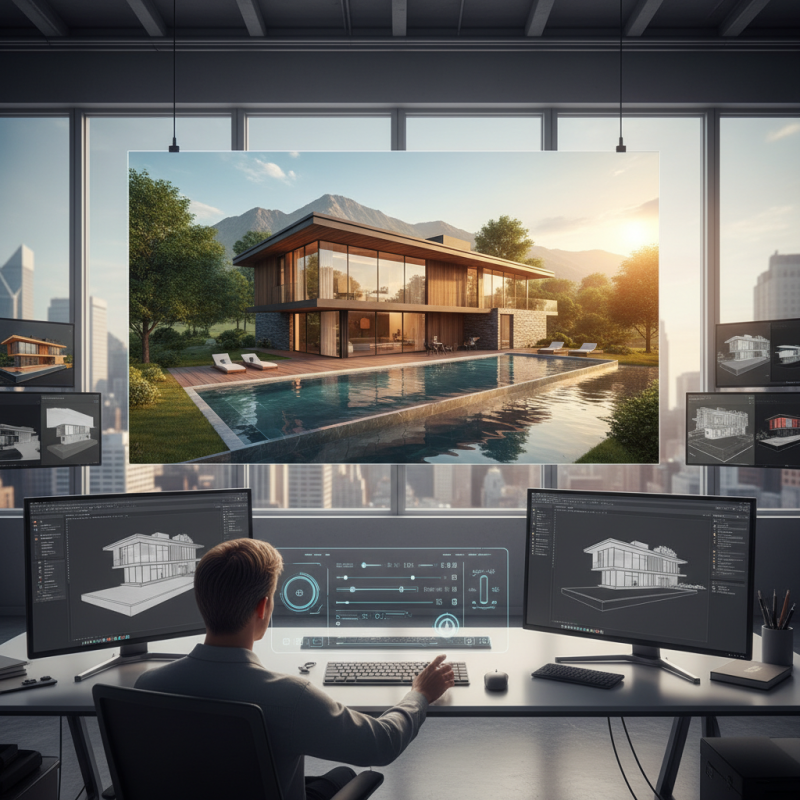
Creating stunning visuals involves mastering the art of "Sketchup To Render." This process combines technical skills with artistic vision. SketchUp is a robust modeling tool that helps visualize ideas. However, rendering techniques are essential for bringing these models to life.
Many struggle with achieving photorealism. A basic model can look flat without proper lighting and texture techniques. Adjusting shadows and reflections can elevate an average design. It’s crucial to experiment with different rendering styles. Each project requires unique attention to detail.
Sometimes, the results may not meet expectations. This is an opportunity for growth and learning. Analyzing what worked and what didn’t leads to improvement. Even professionals face challenges. Embracing this journey can transform your skills in SketchUp rendering.
Understanding SketchUp: Overview and Features for Rendering
SketchUp is a powerful tool for creating 3D models. It stands out due to its user-friendly interface. Users can easily navigate and manipulate their designs. This makes it accessible for beginners and professionals. The software includes various features to enhance rendering. You can choose materials, textures, and colors effortlessly. However, achieving stunning visuals often requires additional techniques.
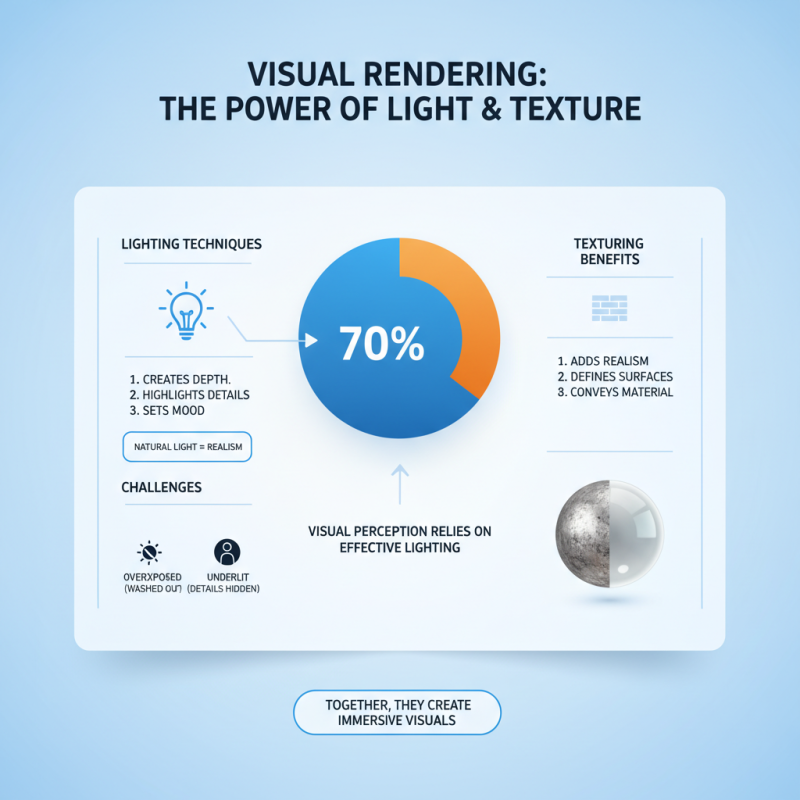
One key aspect of rendering in SketchUp is lighting. Proper lighting can drastically change the mood of a scene. Experimenting with shadows and brightness levels is essential. Users often overlook this. The adjustment of light sources can create depth. Another important feature is the use of textures. Applying the right texture makes objects feel real. Yet, too many textures can clutter a scene. Maintain balance to avoid visual chaos.
Textures and colors can clash sometimes, creating unforeseen issues. This is where reflection is vital. Sometimes, less is more. Simplifying your designs might yield better results. Focus on clarity instead of overcomplicating. SketchUp offers a solid foundation for rendering programs. But mastering it takes time and practice. Embrace the learning curve; it can lead to extraordinary outcomes.
Choosing the Right Rendering Software for SketchUp Models
When choosing rendering software for SketchUp models, it's crucial to consider the specific features you need. Different software packages offer unique functionalities. Factors like ease of use, speed, and rendering quality can significantly impact your workflow. Many users prefer tools with intuitive interfaces. It saves time and minimizes frustration.
Another important aspect is the compatibility with SketchUp. Some software integrates seamlessly. Others may require additional efforts to get everything working together. It's essential to test the software before committing. Some may have limited trial versions, allowing you to explore their capabilities.
Rendering can sometimes feel overwhelming. There may be a learning curve involved. Users might encounter issues such as lighting that appears unnatural or textures that don't translate well. It’s vital to experiment with settings and refine your approach. Small adjustments can lead to significant improvements in your visuals. Don't shy away from making mistakes. They often provide the most valuable lessons for your next project.
Essential Techniques for Optimizing 3D Models Before Rendering
When preparing 3D models for rendering, optimizing them is crucial for stunning visuals. First, simplify your geometry. Too many polygons can slow rendering. Keep only the details that matter. Removing excess vertices can speed up the process. A clean model translates to better performance.
Textures play a key role in rendering. Use high-quality textures that complement your models. Avoid overly complex materials that can lead to long render times. Remember to check your UV mapping. Bad mappings result in stretched or distorted images.
Lighting should also be considered carefully. Experiment with different light sources to create depth. Harsh lights can wash out details. Soft, diffused lighting often yields better results. Test various setups before finalizing your scene.
Tip: Don’t hesitate to tweak your settings. Small changes can make a big difference. Sometimes, less is more. Aim for realism but don’t overdo it. Each model should be unique yet cohesive. Reflect on your choices and adjust as necessary.
3D Rendering Optimization Techniques
Enhancing Visuals: Lighting and Texturing Tips in Rendering
Lighting and texturing play crucial roles in rendering stunning visuals. Research shows that 70% of visual perception relies on effective lighting techniques. Proper lighting can create depth, highlight details, and set the mood of a scene. For instance, using natural light sources can give a more realistic feel. However, achieving the right balance can be challenging. Overexposed areas may wash out details, while underlit spots can obscure important features.
Texturing is equally essential. It adds realism and depth. High-quality textures can elevate a model from ordinary to extraordinary. A study highlighted that 80% of users judged the quality of a rendering based on texture details. By using bump maps and displacement maps, designers create intricate surface details. Yet, relying on overly complex textures can lead to long rendering times and workflow inefficiencies. It’s a delicate balance that requires constant reflection and adjustment.
An understanding of material properties is vital. Materials should behave as expected under various lighting conditions. For example, a shiny surface should reflect light. Misalignments can break immersion. Designers often overlook this, leading to visuals that feel flat or unconvincing. With consistent practice and a focus on detail, creators can improve their techniques. This iterative process of refinement allows for stunning visuals that captivate the audience.
Post-Processing Techniques for Stunning Final Outputs
Post-processing plays a crucial role in transforming your SketchUp renders into striking visuals. Editing software allows you to enhance colors and adjust lighting, creating a more dynamic image. Fine-tuning shadow depths can add a layer of realism. Adding textures can also bring surfaces to life, making them appear more tangible.
Tips: Use adjustment layers for better control over edits. Small changes can significantly impact the overall feel of your render. Make sure to experiment with saturation and contrast. Sometimes, less is more. A subtle approach can lead to surprisingly beautiful results.
Notice that over-editing can ruin the organic feel of an image. Keep an eye on maintaining balance between realism and artistic flair. It’s easy to get caught up in effects, so take breaks to assess your work. Trust your instincts; if something feels off, it probably is. Revisiting your edits with fresh eyes can lead to better decisions.
Related Posts
-
Unveiling the Power of 3D Render through Real World Examples in Design and Industry
-
How to Enhance Product Visualization with 3D Render Techniques for Maximum Impact
-
Essential Guide to Mastering 3D Architectural Rendering for Stunning Visuals
-
Top 10 Tips for Stunning 3D House Rendering Techniques?
-
Unlocking Creative Potential: How Artistic Rendering Enhances Visual Storytelling in Digital Media
-
Ultimate Checklist for Selecting the Best Architectural Animation Services for Your Projects


