How to Create Stunning 3D Interior Rendering for Your Home?
Creating stunning 3D interior rendering for your home can transform your living space. According to a recent report from the American Institute of Architects, 62% of homeowners are now incorporating 3D technology in their design process. This shift reflects the growing demand for realistic visualization. Expert designer Sarah Johnson emphasizes, “3D interior rendering is key to understanding spatial relationships and aesthetics.” Her insights reveal the importance of effective communication in design.
3D interior rendering allows you to see your ideas come to life. It provides a detailed view of colors, materials, and textures before making decisions. Many designers report increased client satisfaction when using this technology. However, integrating realistic lighting and shadows remains a challenge. While the technology has advanced, it is essential to fine-tune these elements to achieve perfection. Mistakes in this area can lead to disappointing expectations.
Focusing on nuanced details enhances the overall rendering experience. The contrast of light and shadow can dramatically affect mood. Observations from various designers indicate that achieving an immersive environment requires effort. Some aspects may not translate well visually. It’s essential to revisit and reflect on these elements.
Understanding the Basics of 3D Interior Rendering Techniques
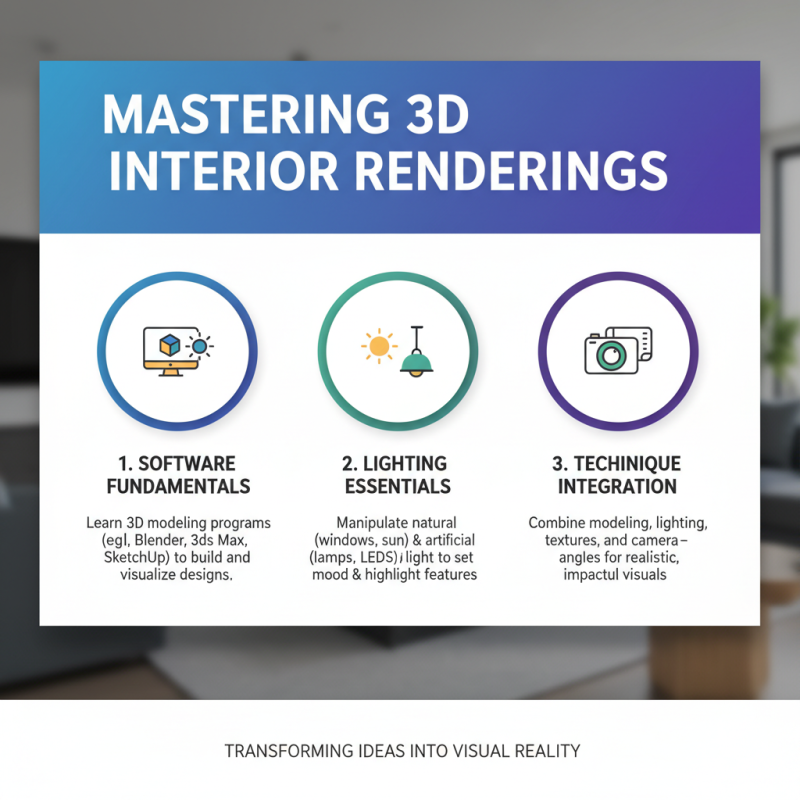
Creating stunning 3D interior renderings begins with understanding key techniques. Start by mastering the basics of software tools. These programs help transform ideas into visual representations. Learning to manipulate lighting is essential. Natural and artificial light can change the mood of a space.
Textures play a crucial role in rendering. Selecting the right materials can enhance realism. However, achieving the perfect combination often requires trial and error. Sometimes the wall textures clash with the furniture. This mismatch can detract from the overall design. Take time to experiment with different styles.
Perspective is another important element. Choosing the right angle can highlight specific features of a room. It can also evoke emotion. Yet, a poorly chosen perspective may distort the layout. Always review your renderings critically. This reflection leads to improvement and a deeper understanding of 3D interior design.
Choosing the Right Software for 3D Interior Rendering
Choosing the right software for 3D interior rendering can be a challenging task. There are many options available, each offering unique features. It's essential to consider what you need for your projects. A user-friendly interface is important, but functionality must also be high on your list.
Tips: Think about your skill level. Beginners might prefer simpler software. This will help you create without overwhelming complication. On the other hand, advanced users may seek robust tools. They should support intricate designs and high-resolution rendering.
Also, consider compatibility. The software should work well with other design tools. This can save time and streamline your workflow. While many programs promise great results, not all deliver. It's wise to read reviews and do a trial run. Pay attention to details like speed and ease of use. Strive for balance and be open to learning curves. Sometimes, what seems perfect initially can reveal shortcomings later. Reflect on your choices often to ensure they still meet your evolving needs.
3D Interior Rendering Software Popularity
This chart illustrates the popularity of various software options for creating stunning 3D interior renderings based on user preferences.
Gathering Reference Images and Creating a Mood Board
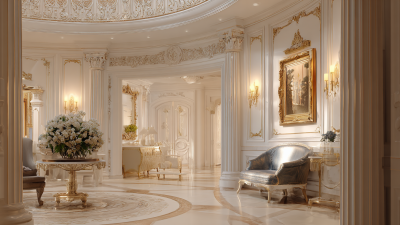
Creating a mood board is a vital step in crafting stunning 3D interior renderings. Start by gathering reference images that resonate with your vision. Look for photos of interiors that inspire you, such as cozy living spaces or sleek modern kitchens. Use a variety of styles and colors to capture different moods. Natural light can transform a room, so include images showcasing diverse lighting options. This will help you understand how different elements interact.
As you compile these images, reflect on what feels right. Some choices might seem appealing, but they may not fit your overall concept. Create a collage of these visuals to form a cohesive mood board. Consider textures and materials. Soft fabrics can add warmth, while sleek metal finishes can provide a contemporary touch. A successful mood board captures the essence of your desired space.
Remember that not every decision will lead to perfection. Some combinations may clash, and that’s okay. Use trial and error. Testing out various elements can lead to new insights. Your mood board is a living document. It should evolve as you clarify your design style. Embrace the process and allow room for growth and inspiration.
Building Your 3D Model: From Layout to Textures
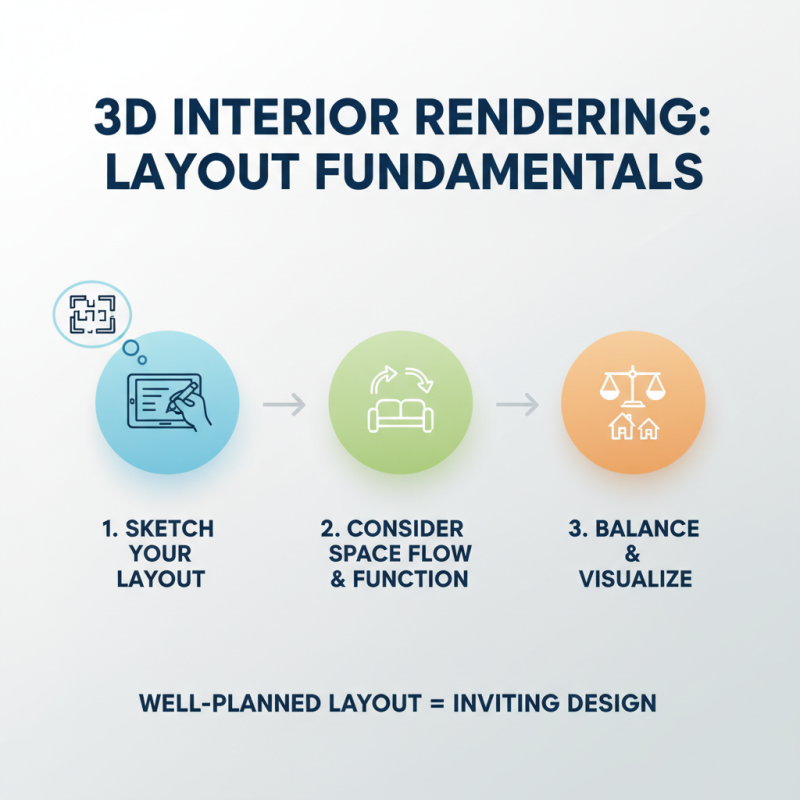
Creating a stunning 3D interior rendering begins with a strong foundation. Start by sketching your layout. Consider the flow of space. Which areas will be functional? Where will the furniture go? This step is crucial. A well-planned layout ensures that your design feels balanced and inviting. It helps visualize how the rooms relate to each other.
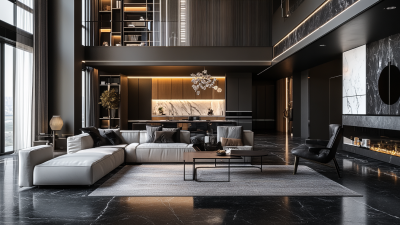
Once your layout is in place, focus on textures. This can make or break your rendering. Use a variety of materials to add depth. Think wood for warmth, metal for modernity, and fabric for softness. Experiment with different finishes. A mistake might arise here. Choosing the wrong texture can disrupt the overall harmony of the design. Reflect on your choices as you proceed.
Lighting plays a role too. It influences how textures are perceived. Natural light can enhance the warmth of wood, while harsh artificial light may create unattractive shadows. Test various lighting setups. Observe how they affect the atmosphere of each room. Remember, creating a perfect 3D rendering takes time. Don’t rush through these elements; they are key to achieving a stunning result.
Lighting and Rendering Settings for High-Quality Outputs
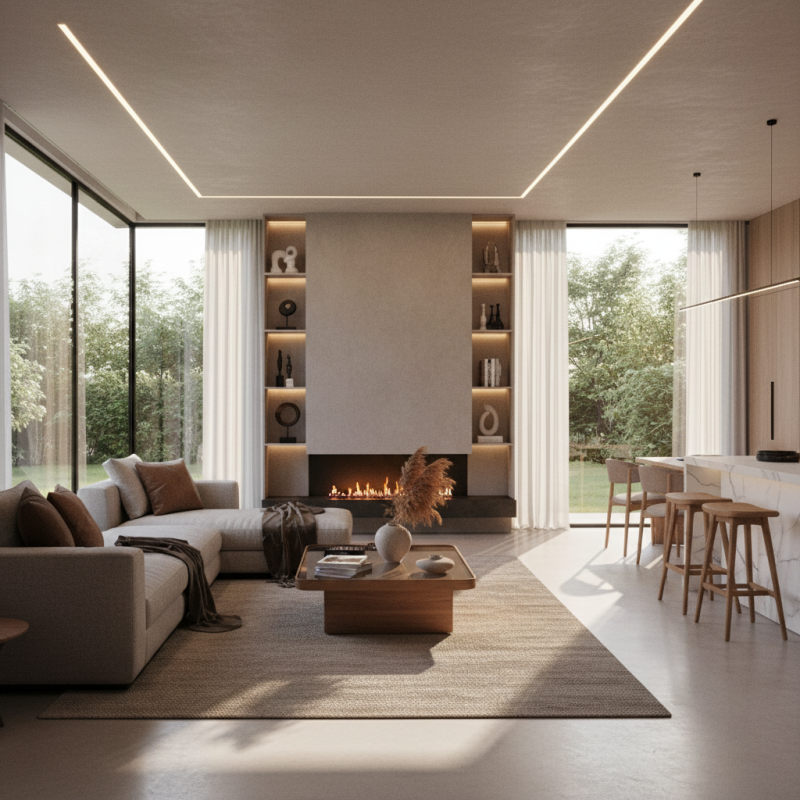
Creating stunning 3D interior renderings relies heavily on effective lighting and rendering settings. Good lighting can transform a dull space into a visually striking one. According to industry reports, approximately 80% of an interior's perceived beauty comes from its lighting. Natural light sources combined with well-placed artificial lights can enhance textures and colors. Consider using a mix of direct and indirect lighting. This approach avoids harsh shadows and adds depth to your designs.
Rendering settings also play a crucial role in achieving high-quality outputs. A common recommendation is to set your resolution to a minimum of 1920x1080 pixels for detailed imagery. However, achieving this quality can be challenging. Rendering times may increase significantly, sometimes taking hours for just a single frame. The struggle is real when balancing quality and speed. Experimenting with different rendering engines can yield varying results. Each engine has its unique strengths, but finding the right fit can be daunting.
Lastly, be mindful of the color palette. Reports have shown that a harmonious color scheme increases viewer engagement by 70%. Yet, choosing colors can be subjective and tricky. Misjudging this can lead to an uninviting atmosphere. Aim for colors that complement the lighting. But remember, not every combination will work; trial and error is essential in this aspect.