What is the process of 3d architectural models?
The production process of 3D architectural models mainly includes steps such as data collection, modeling, material and texture processing, lighting Settings, and rendering output. The following is a detailed introduction:
Data collection and planning
Collect materials: Gather the Design drawings of the building, including floor plans, elevations, sections, etc., as well as related photos and documents, to understand the style, structure, dimensions and detailed requirements of the building. If it is to model an existing building, on-site measurements and photography are also required to obtain accurate data and reference images.
Determine the modeling plan: Based on the complexity of the building and the production requirements, determine the methods and processes for modeling. For example, for regular building structures, basic geometric figures can be adopted for combined modeling; For complex curved surface buildings, techniques such as NURBS surfaces or subdivided surfaces may be required. Meanwhile, plan the hierarchical structure and naming conventions of the model well to facilitate subsequent editing and management.
Modeling
Create the basic model: Use 3D modeling software, such as 3ds Max, Maya, SketchUp, etc., to create the basic geometric model of the building based on the design drawings and measurement data. Starting from the overall structure, gradually construct the main parts of the building such as the walls, roof, floor slabs and columns, and pay attention to maintaining the accuracy of the scale and dimensions of the model.
Detailed model: On the basis of the basic model, add the detailed parts of the building, such as doors and Windows, stairs, railings, decorative lines, etc. Simple geometric shapes can be transformed into complex building components through operations such as stretching, squeezing, and Boolean operations. For some repetitive elements, functions such as copying and array can be used to improve the modeling efficiency.

Dealing with complex structures and curved surfaces: For complex structures and curved surface parts in buildings, such as curved roofs and spiral staircases, more advanced modeling techniques need to be applied. For example, complex curve shapes can be created by using tools such as looping and sweeping, or NURBS surfaces can be edited by adjusting control points to meet design requirements.
Integration and inspection: Integrate the models of each part, check the completeness and accuracy of the models, and ensure that the connections between each component are correct, without overlap, gaps or incorrect geometric shapes. Carry out necessary optimizations on the model, such as deleting unnecessary faces and vertices, to reduce the complexity of the model and improve the efficiency of subsequent rendering and processing.
Material and texture processing
Specified materials: Specify the corresponding materials for each part of the model, such as stone, wood, glass, metal, etc. In 3D software, each material has its specific properties, such as color, glossiness, transparency, reflectivity, etc. By adjusting these attributes, the appearance effects of different materials in the real world can be simulated.
Add texture: Add texture maps to the material to enhance the realism of the model. Texture maps can be high-quality pictures downloaded from the Internet or texture images taken or created by oneself. Common texture types include diffuse reflection texture, normal texture, and highlight texture, which are respectively used to control the color of the material, the normal direction of the surface, and the highlight reflection effect. Map the texture correctly to the model surface and adjust its size, position and repetition rate to match the actual dimensions and details of the building.
Adjust material parameters: Based on the building's lighting environment and design intent, further adjust the parameters of the materials, such as reflection intensity, refractive index, roughness, etc. For example, for glass materials, it is necessary to set appropriate transparency and reflectivity to demonstrate their transparent and reflective properties. For metallic materials, the high-gloss parameters need to be adjusted to present different metallic textures.
Lighting Settings
Set rendering parameters: According to the precision and output requirements of the model, set rendering parameters such as rendering resolution, sampling rate, anti-aliasing level, etc. Higher resolution and sampling rate can achieve clearer and more detailed rendering effects, but they will also increase the rendering time and the consumption of computing resources. Make a trade-off based on the actual situation and select the appropriate parameter values. Meanwhile, select the appropriate renderer. Different renderers vary in rendering speed, effect and function. For example, renderers such as V-Ray, Arnold and Corona all have their own characteristics and applicable scenarios, and can be selected according to the project requirements.
Rendering test: Before conducting the formal rendering, a small-scale rendering test should be carried out first to check whether the lighting effects, material representation, model details, etc. in the scene meet expectations. Based on the test results, adjust and optimize the scene, such as adjusting the lighting parameters, fixing model flaws, and optimizing material Settings, until a satisfactory effect is achieved.
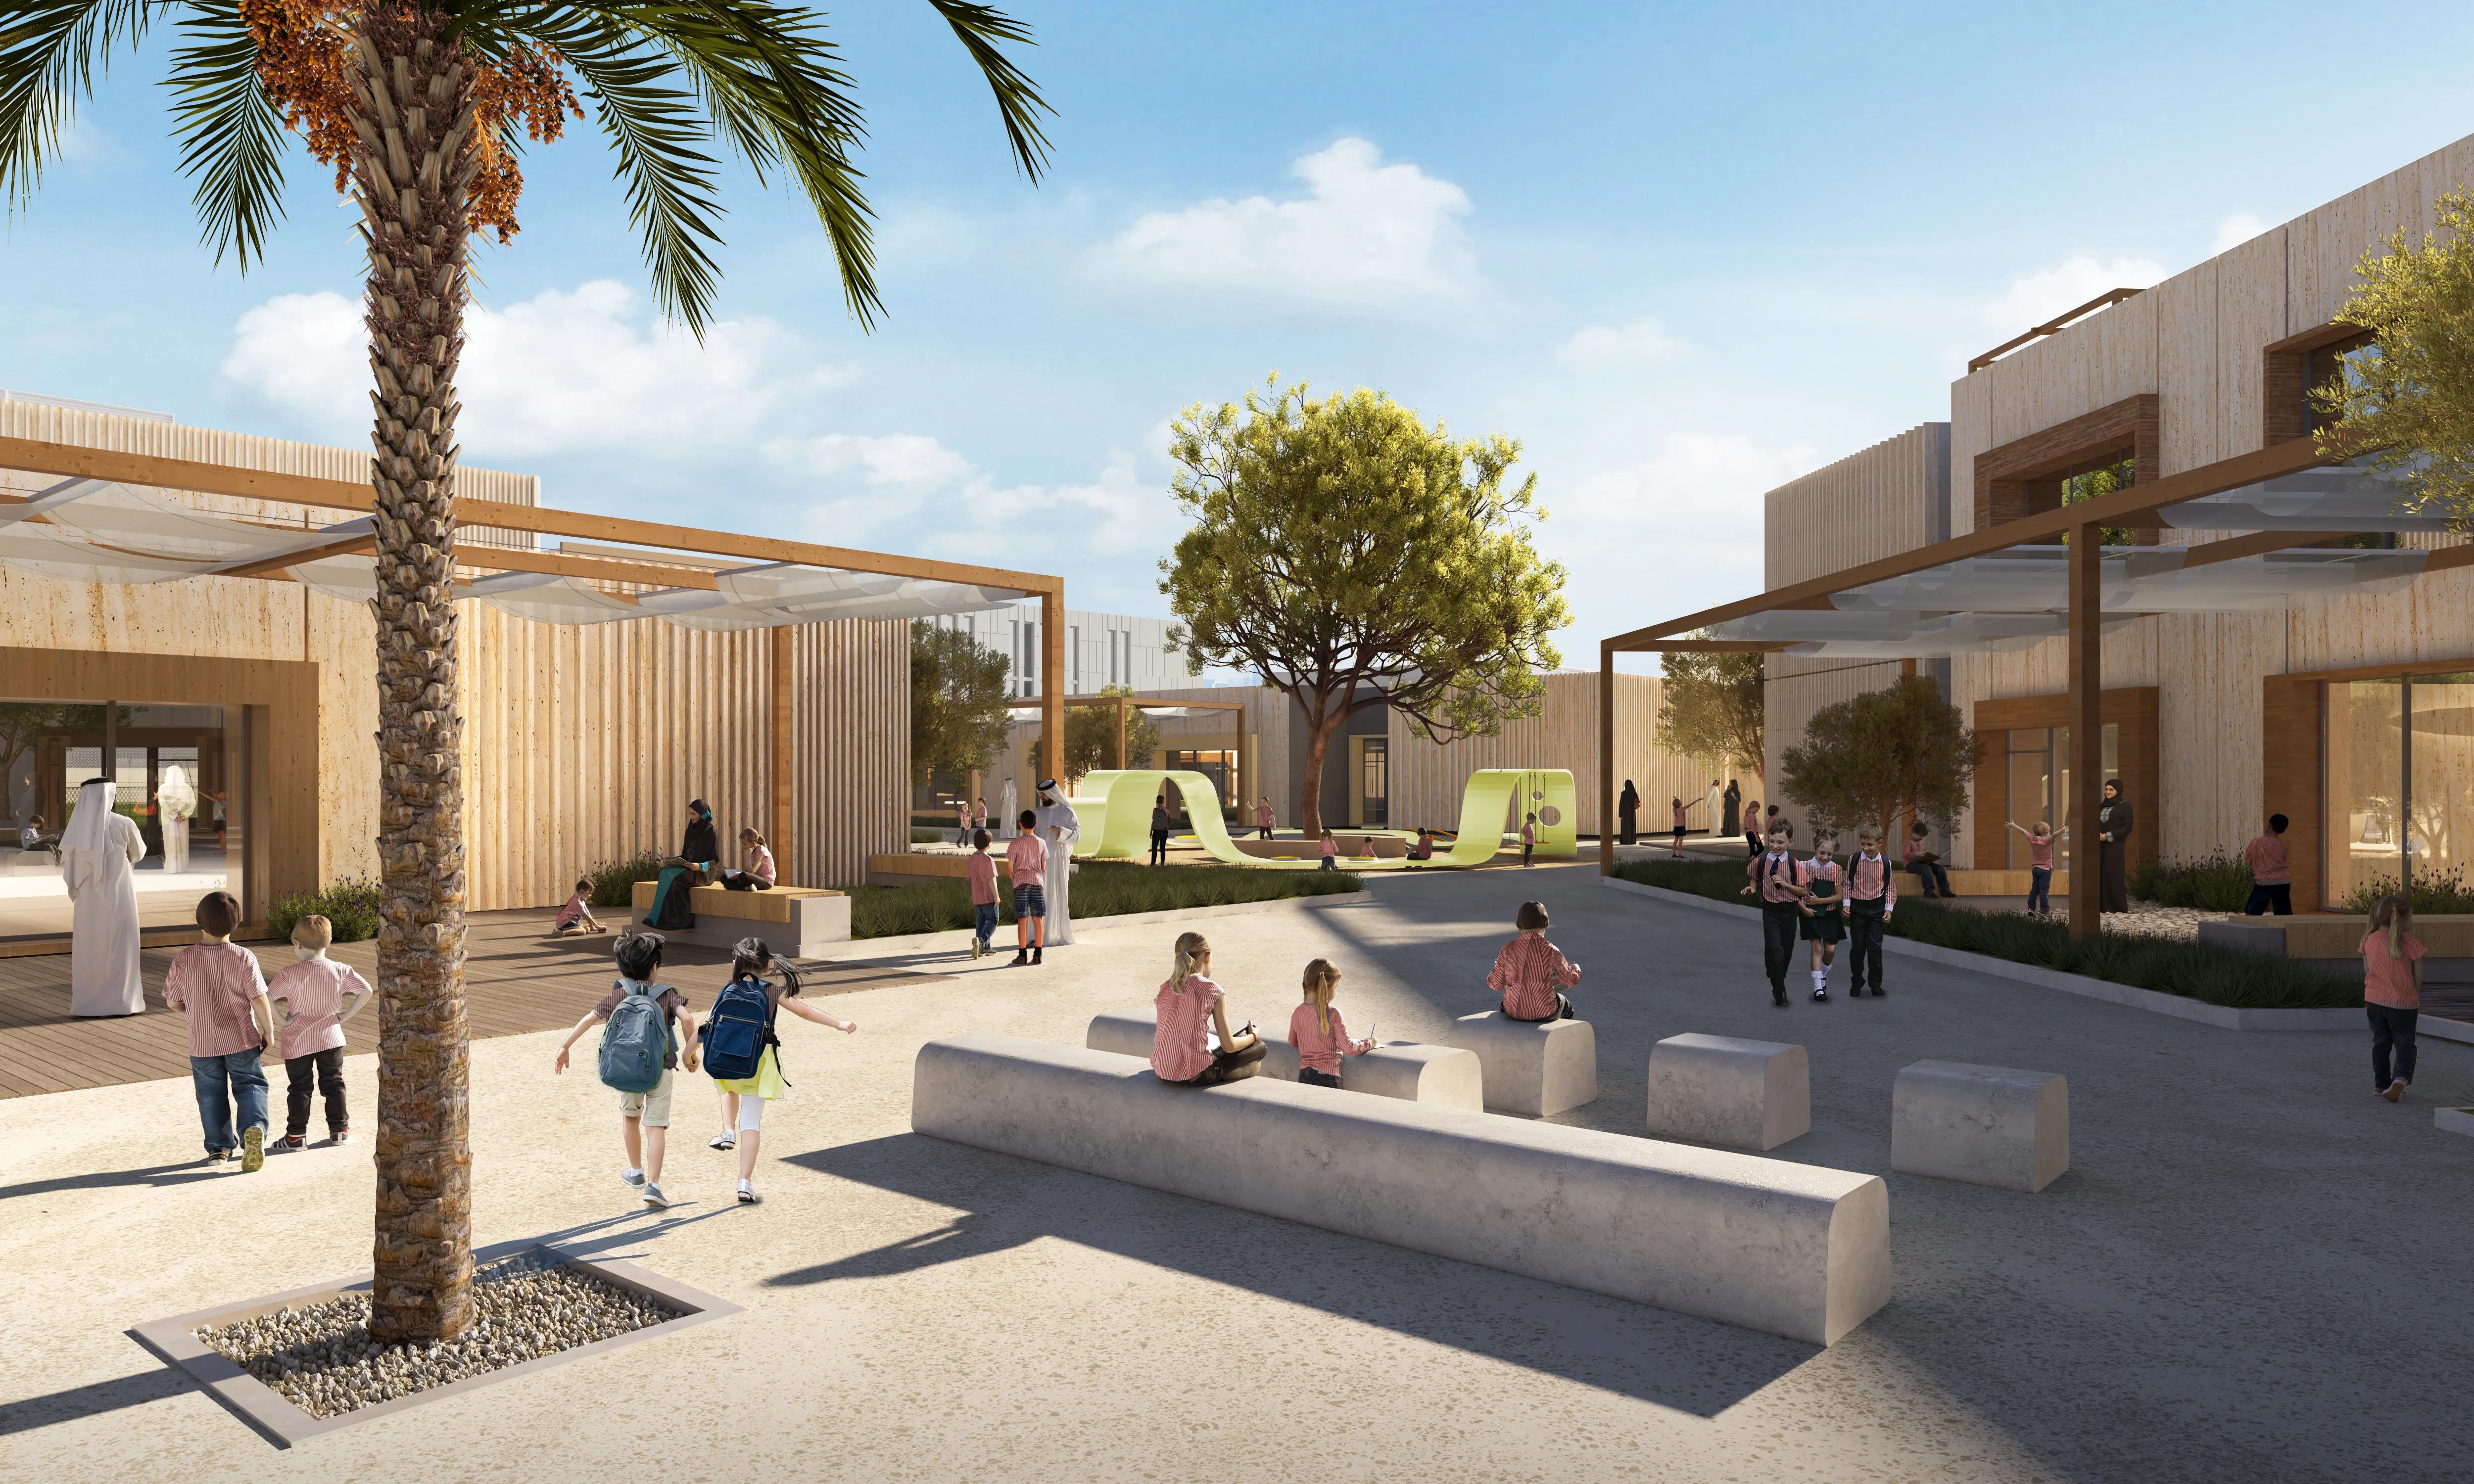
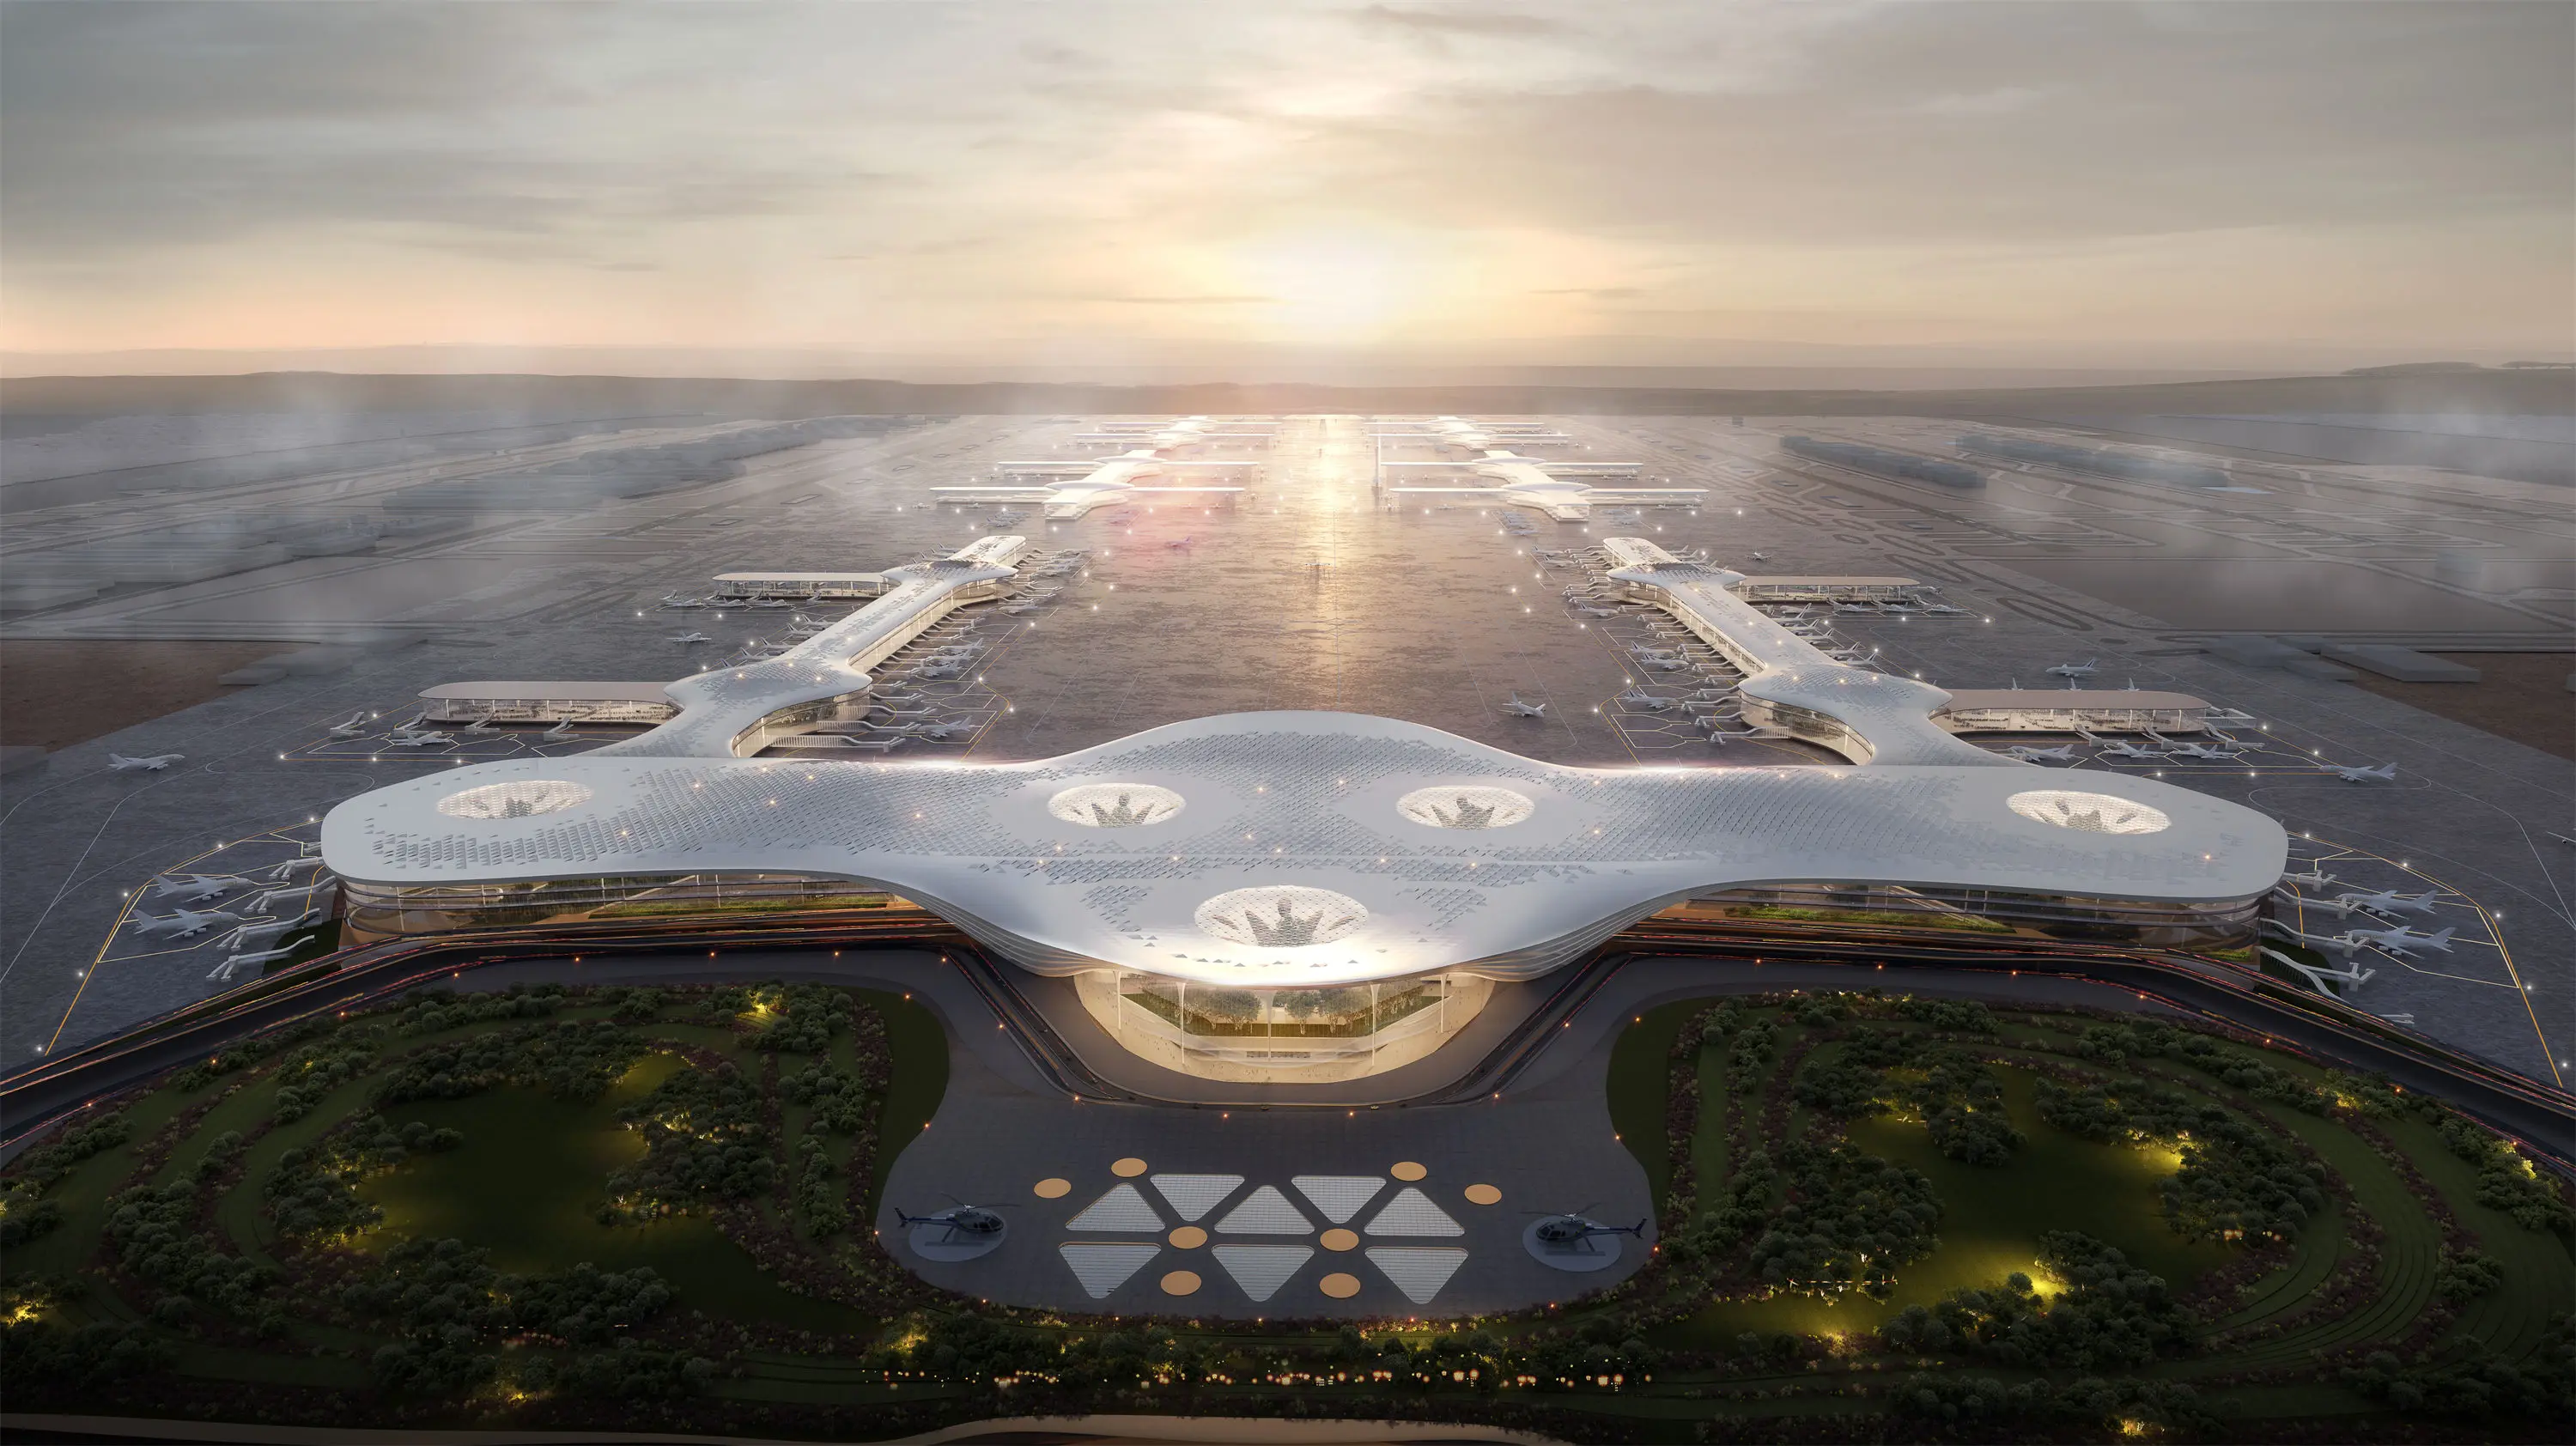
Formal rendering: After testing and adjustment, formal rendering output is carried out. Render images from different angles and perspectives as needed, or generate animation sequences. The rendering process may take a relatively long time, and the specific time depends on the complexity of the model, the Settings of the rendering parameters, and the performance of the computer.
LIGHTS is the 3D Rendering Outsource China-best architectural rendering companies,Delivering High-end photorealistic quality architectural rendering services worldwide.


